 English
  日本語
日本語  français
  Deutsch
  Español
  русский
  العربية
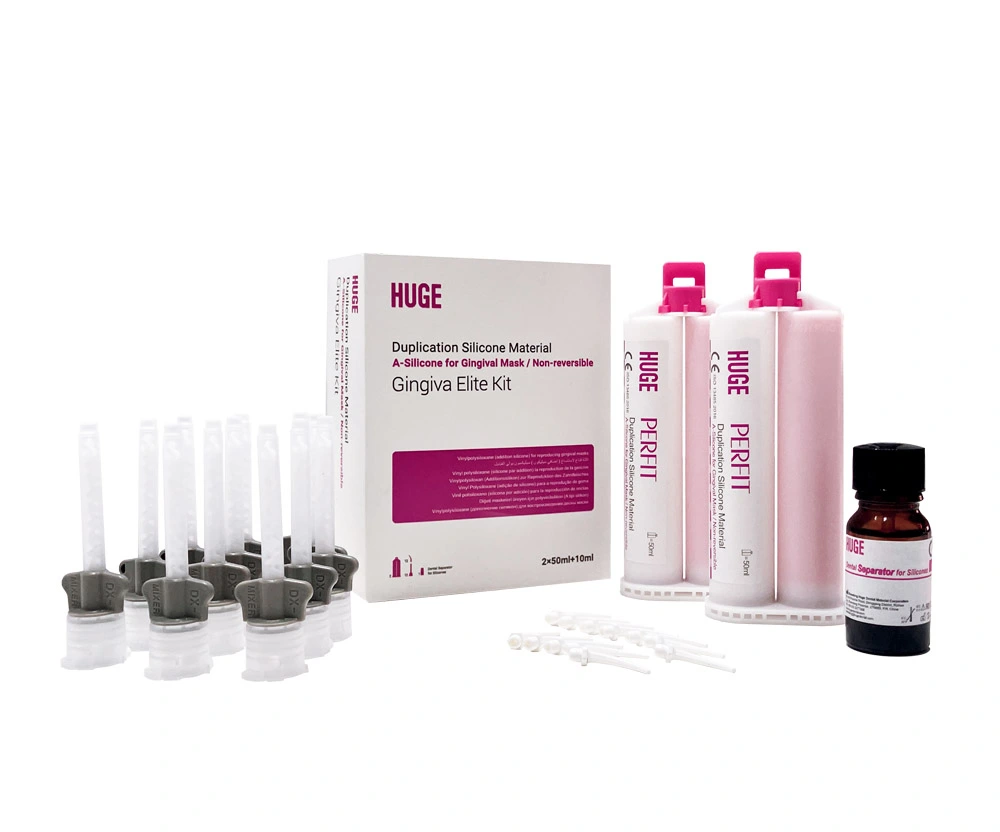

CLINICAL CASES: PERFIT IMPRESSION MATERIALS

Cases presented by:
BRUNA S. H. TONIN
DDS, MSc, Certificate in Prosthodontics, PhD
1. Fixed prosthesis impression


Step 1: Prepare the tooth(22)
Step 2: Take the first impression with PERFIT Putty


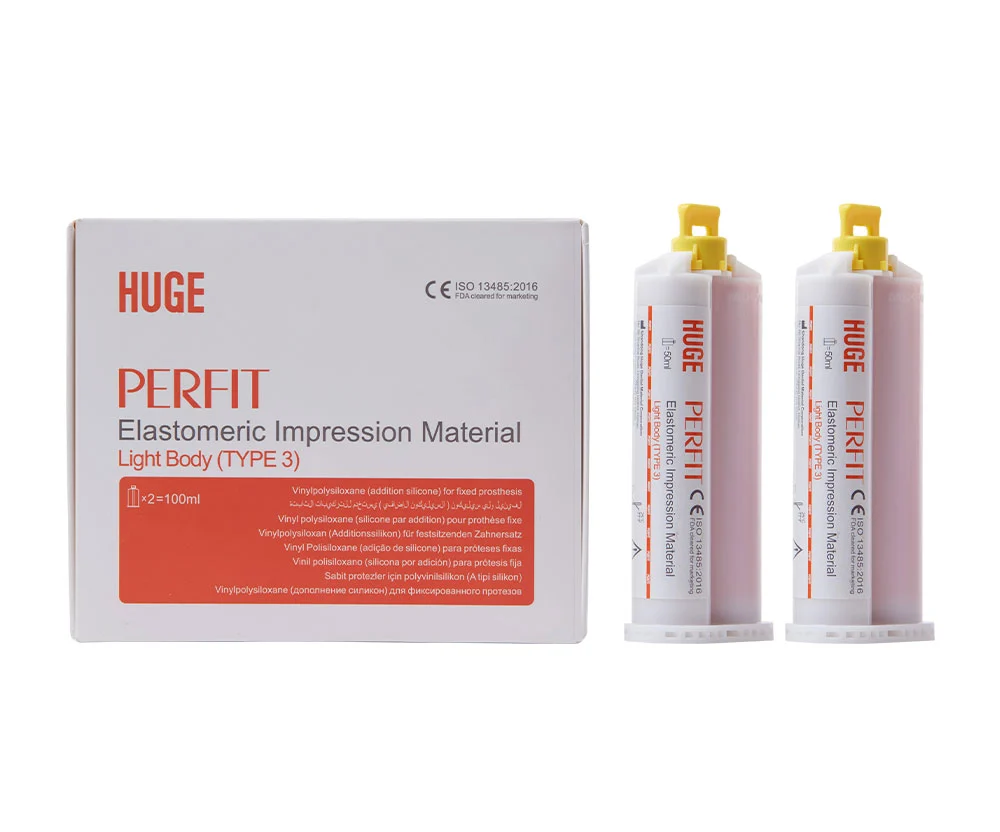
Step 3:Take the second impression with PERFIT Light Body

Step 4: Obtain the accurate impression results
2. Fixed and Implant-retained prostheses impressions:
Restorations on the maxilla
Step 1:
Prepare the teeth (25 and 26). The component (transfer impression) retained on the implant (tooth 14).

Step 2:
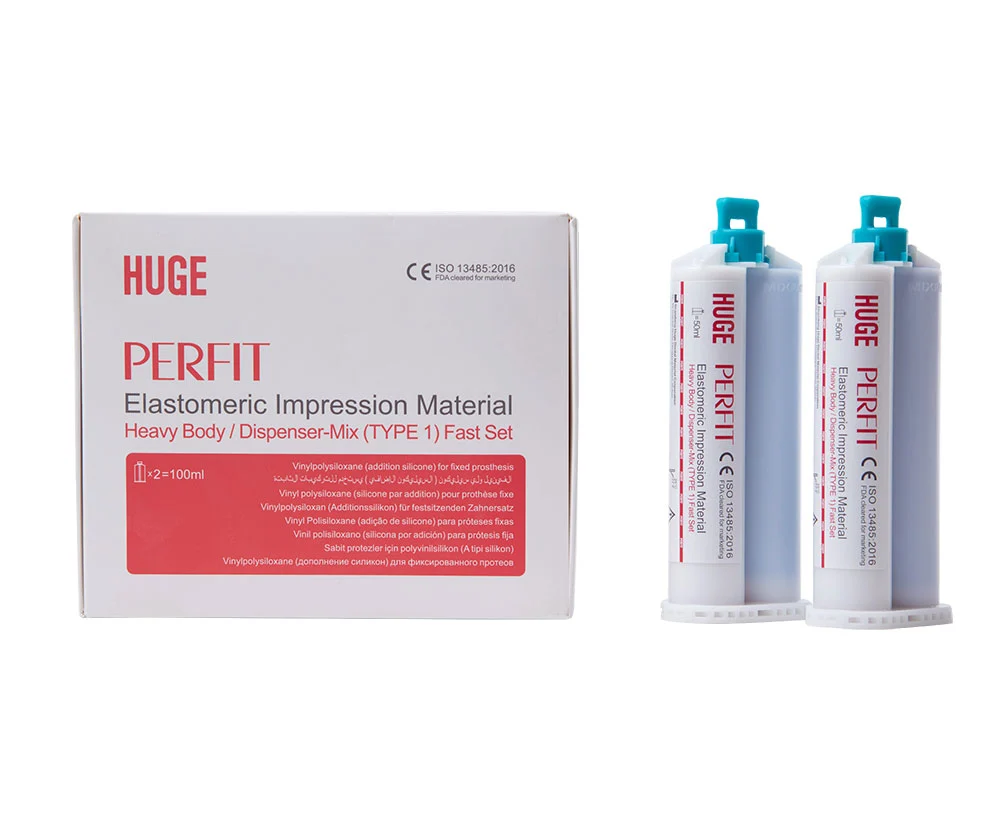
Take the impression and get accurate impression results with PERFIT Putty and Light Body.

Step 3:
Note the fluidity of the material in the gingival sulcus after gingival displacement with a retraction cord,
achieving an excellent replica of the entire dental perimeter.

Step 4:
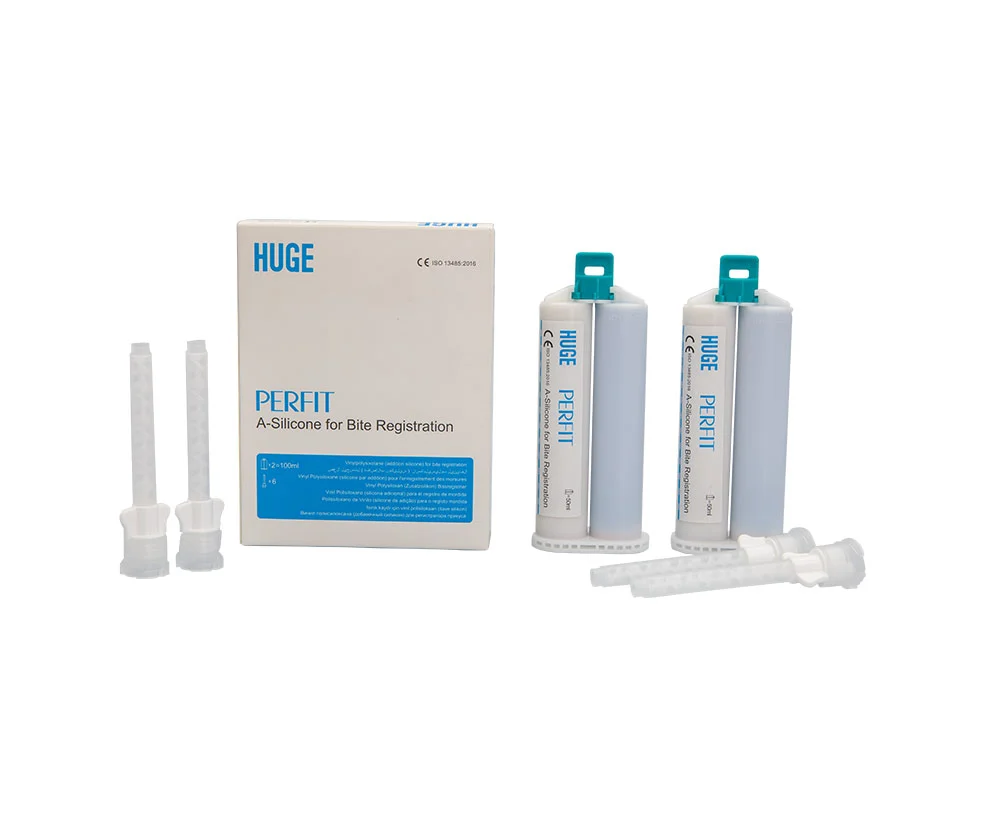
Record the bite relationship with A-Silicone for Bite Registration

3. Full-Arch maxilla prosthesis: Impression procedure
Step 1:
The maxillary implants were uncovered, and healing abutments (Sin Implants) were attached. The definitive prosthetic design consisted of complete arch maxillary implant-supported frameworks with a 1-piece tightened.
Step 2:
To fabricate the definitive cast and replicate the position of the implants in the mouth, the open tray splinted impression technique was used. Open-tray impression transfer copings (Sin Implants) were hand tightened onto the implants and splinted intraoral with autopolymerizing dental floss and acrylic resin after verifying seating with periapical radiographs.


Step 3: Take the implant Impression with PERFIT Putty and Light Body

Step 4: Complete the maxillary fixed implant-supported restoration.


4. Fixed prosthesis impression Two-step technique:
Impression procedure
Step 1: Prepare the 1st pre-molar with a temporary restoration.

Step 2: Take the first impression with the temporary restoration in its position to provide space for the second impression.

Step 3: Remove the temporary restoration. The cord will temporarily retract the gum from the tooth, allowing the fluid impression material to capture an accurate representation of the tooth preparation (which goes slightly below the gum).


Step 4: For the second impression, the fluid material is placed on the tooth and inside the rigid material formed tray. The impression is then repositioned over the dental arch.

Step 5: Two-step technique impression result with PERFIT Putty and Light Body

Step 5: Record the bite relationship with A-Silicone for Bite Registration.

Thank you to Dr. Bruna for sharing this clinical case process using PERFIT impression material. Various impression products provide clinicians with many options. If you have a similar case to share, please feel free to contact us.

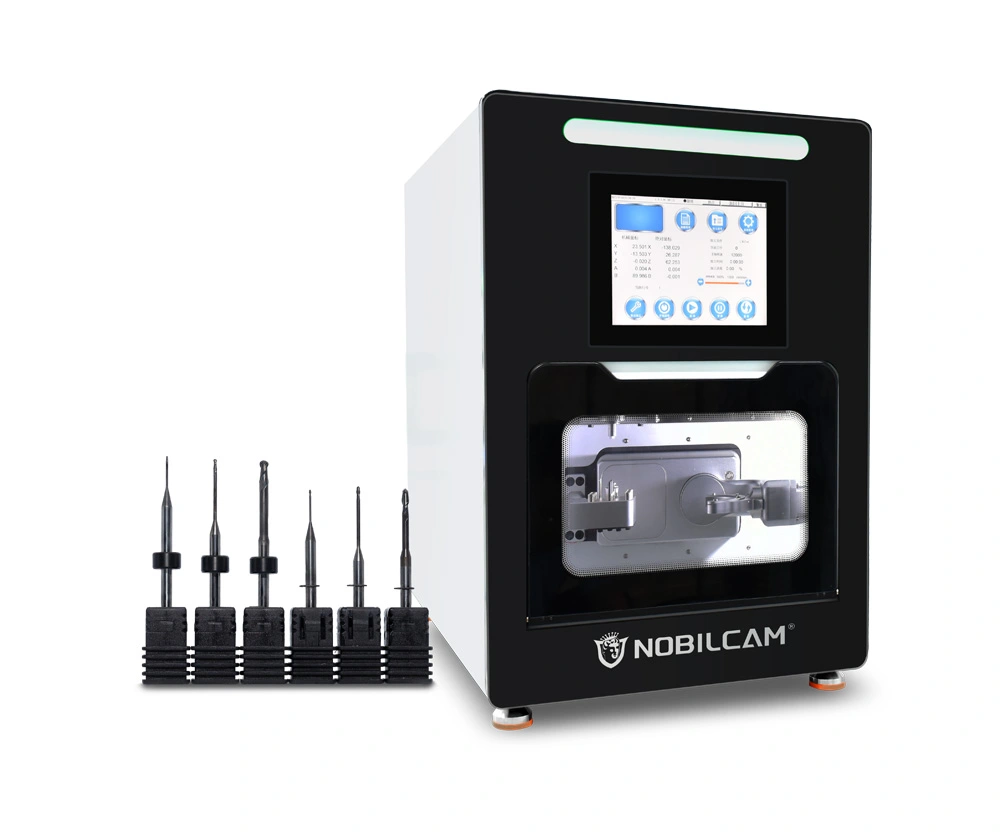
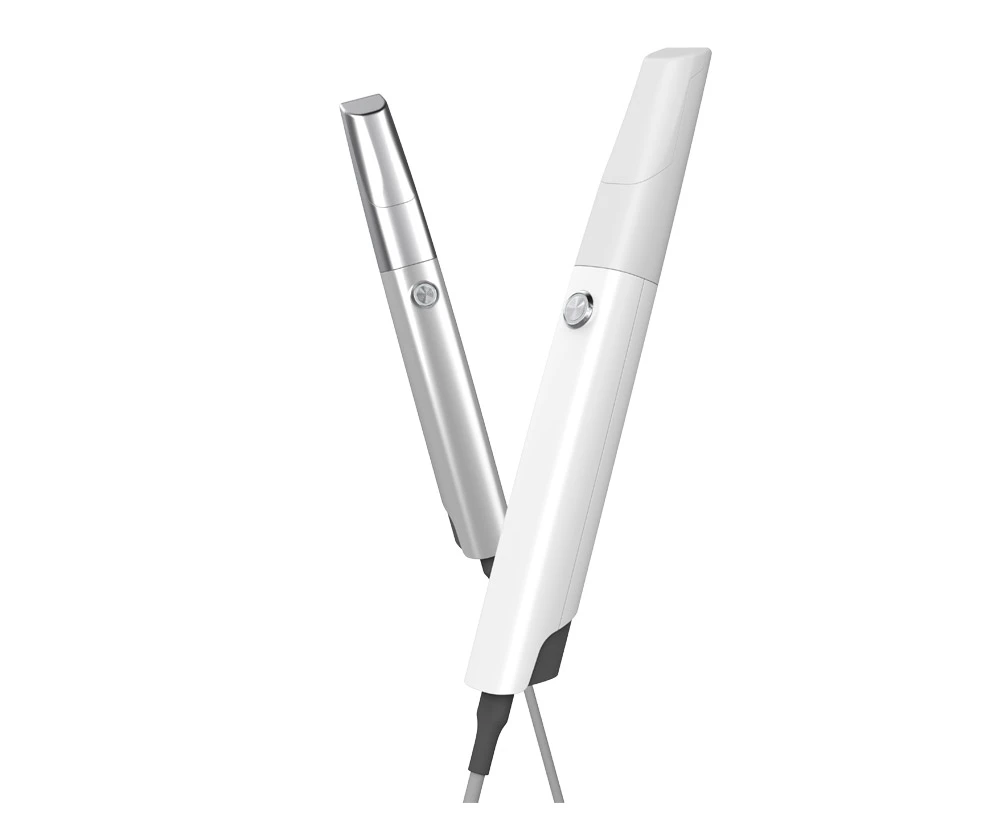
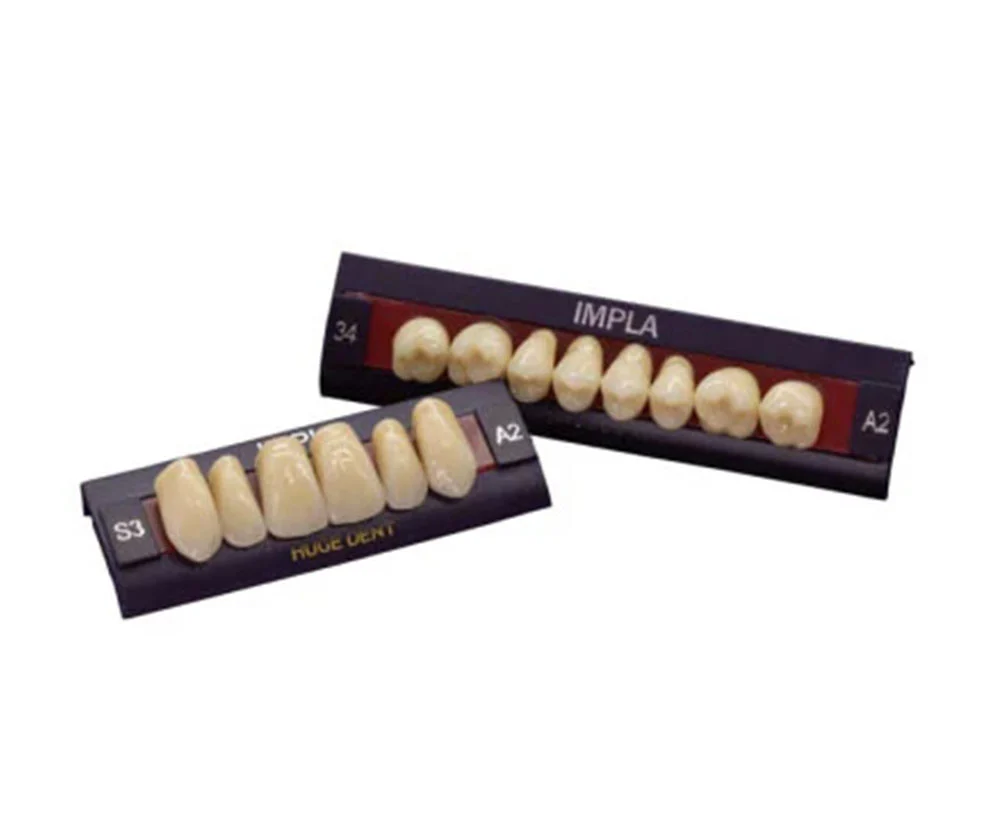
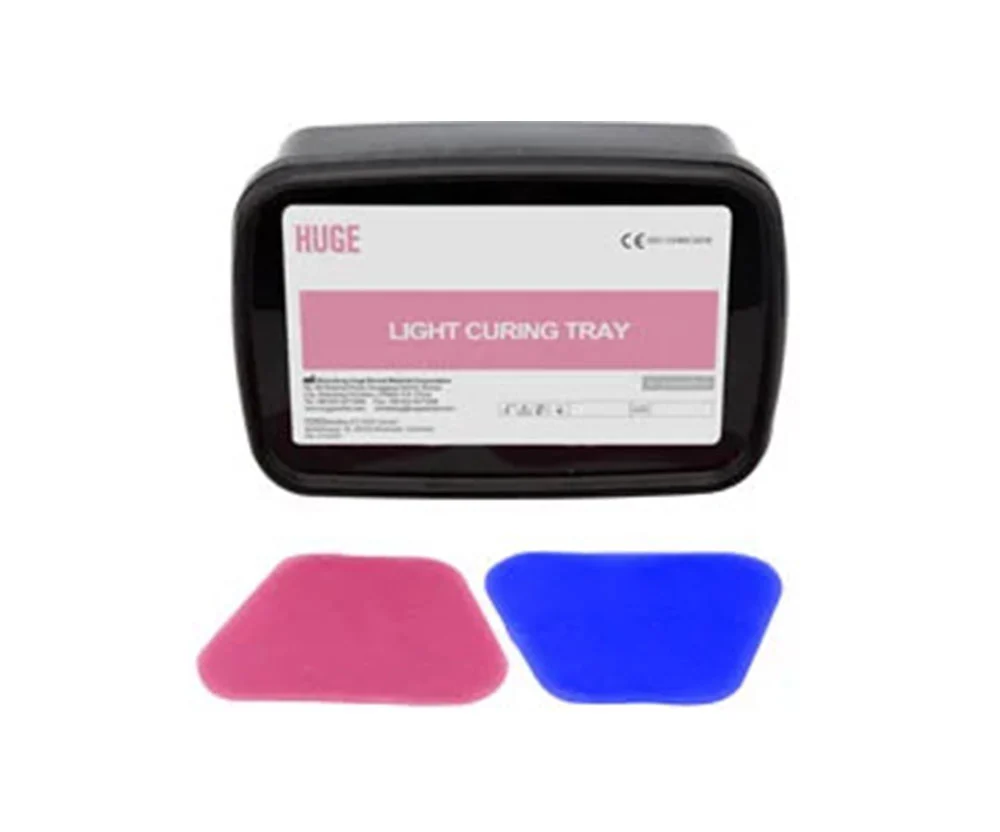
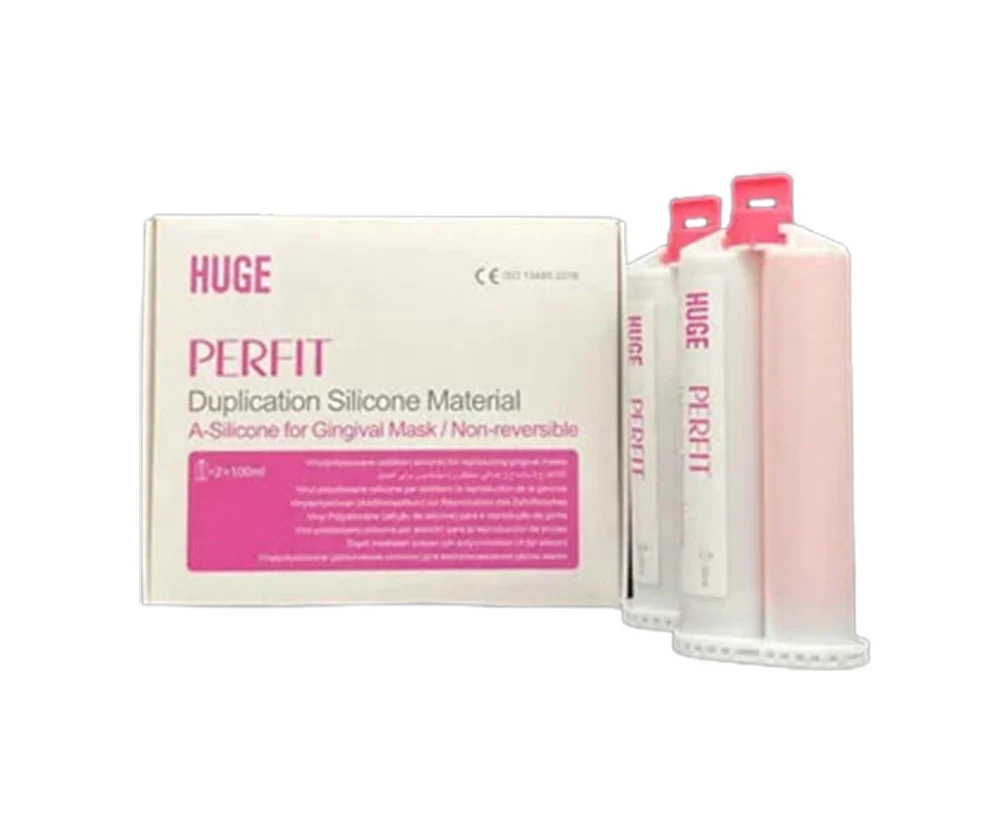
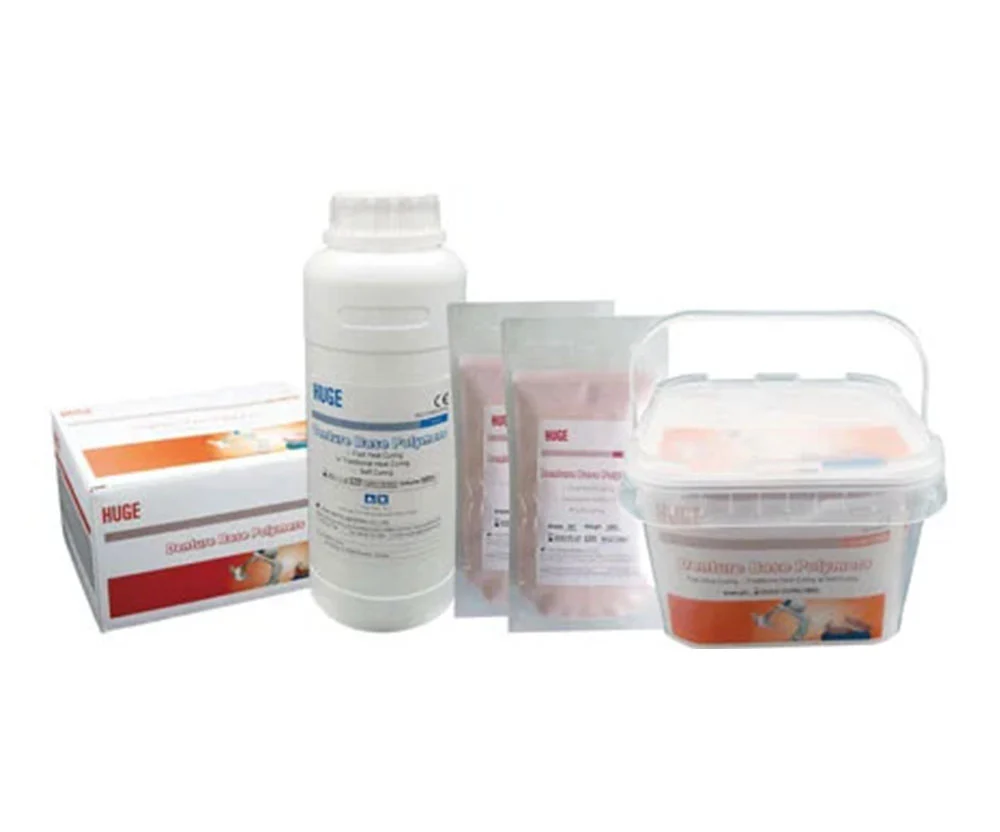
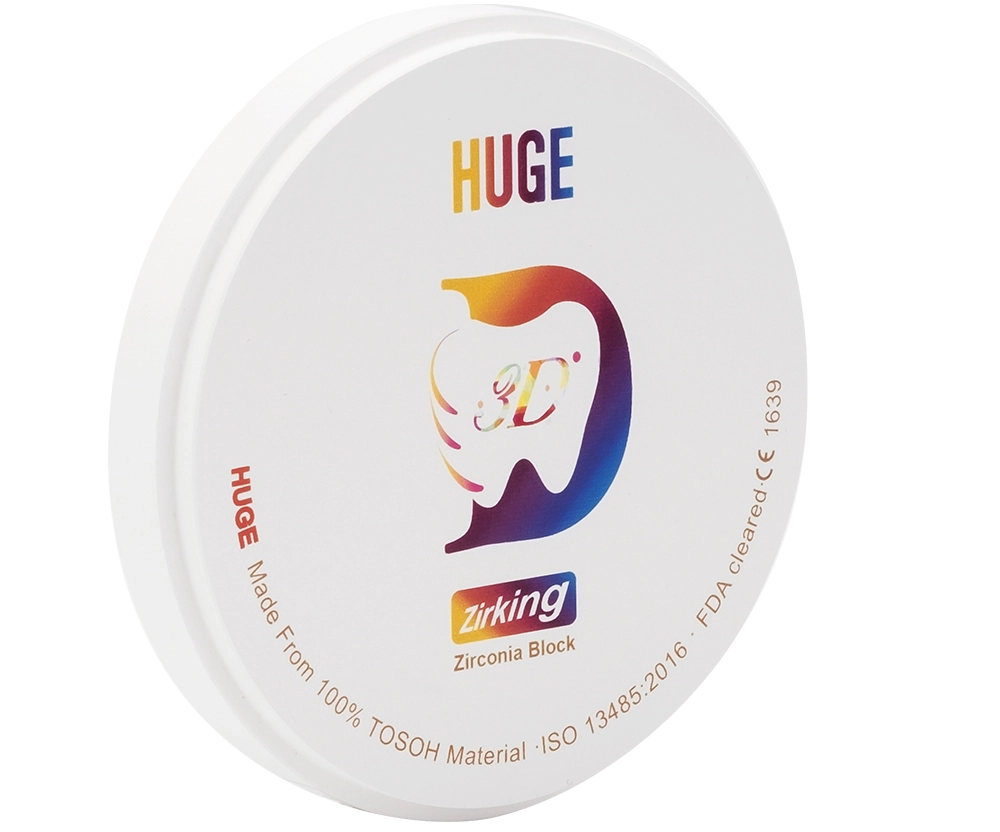
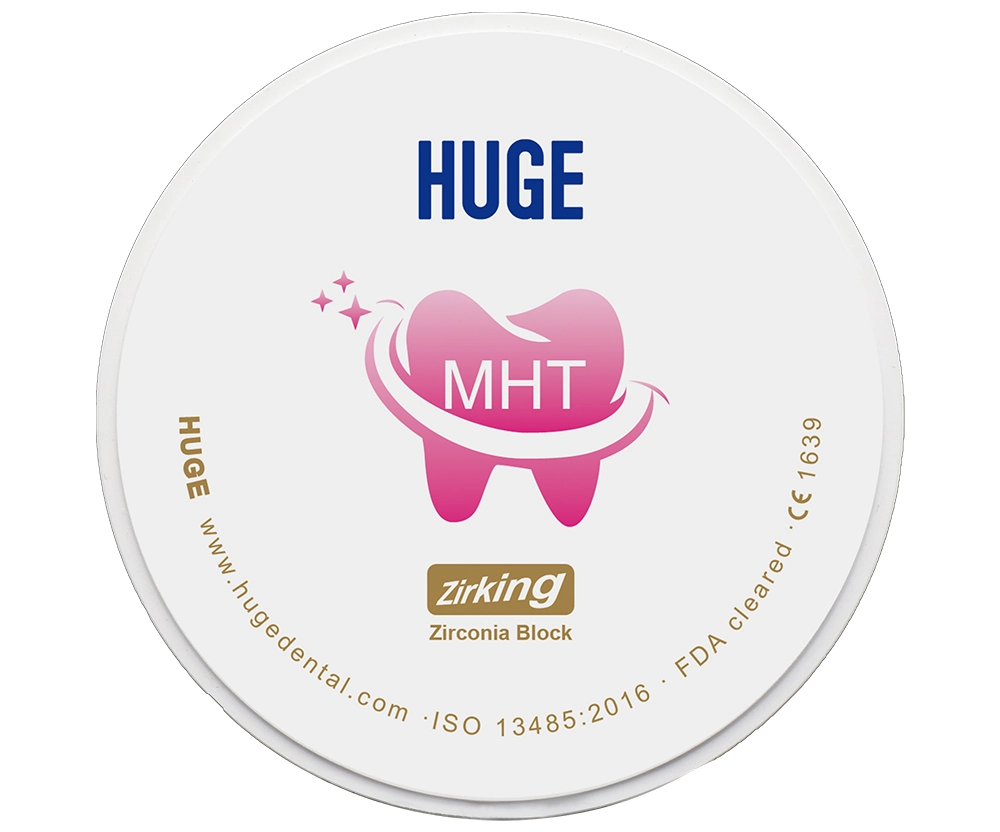
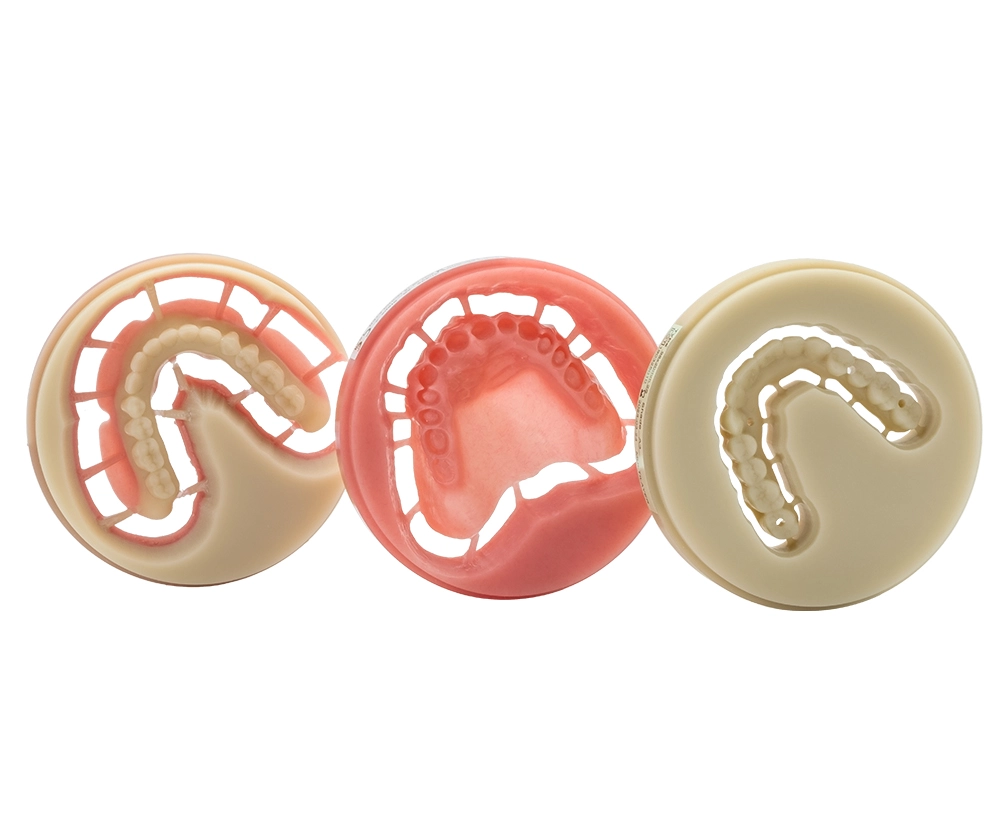
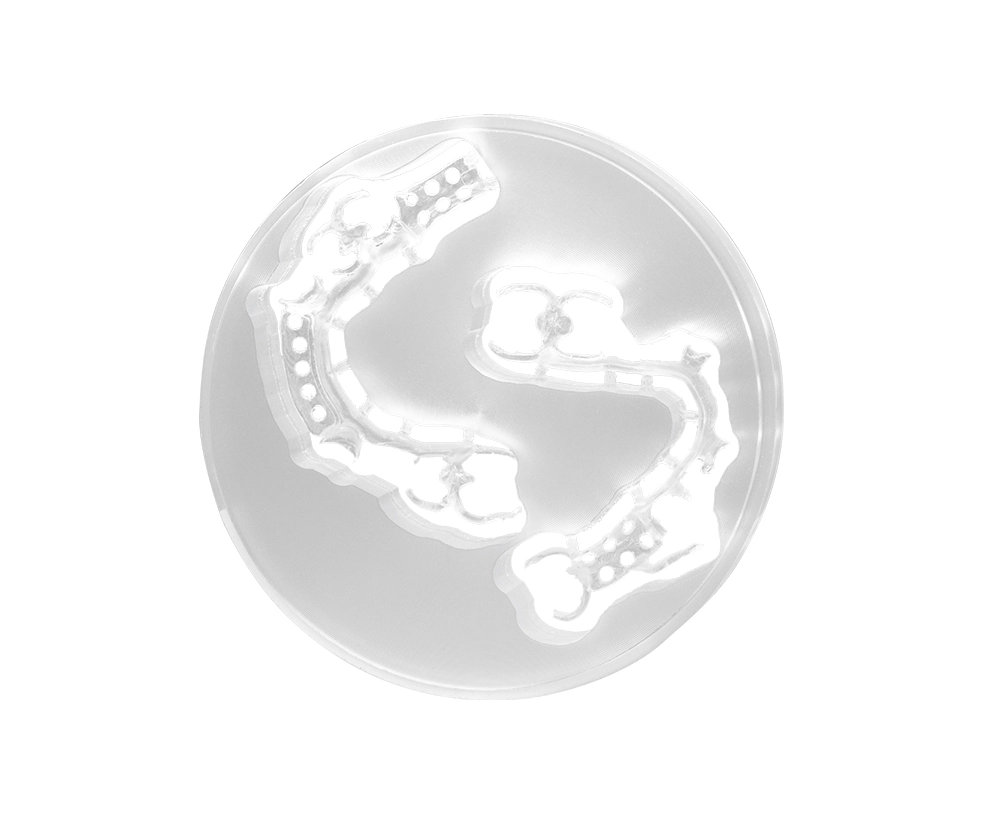
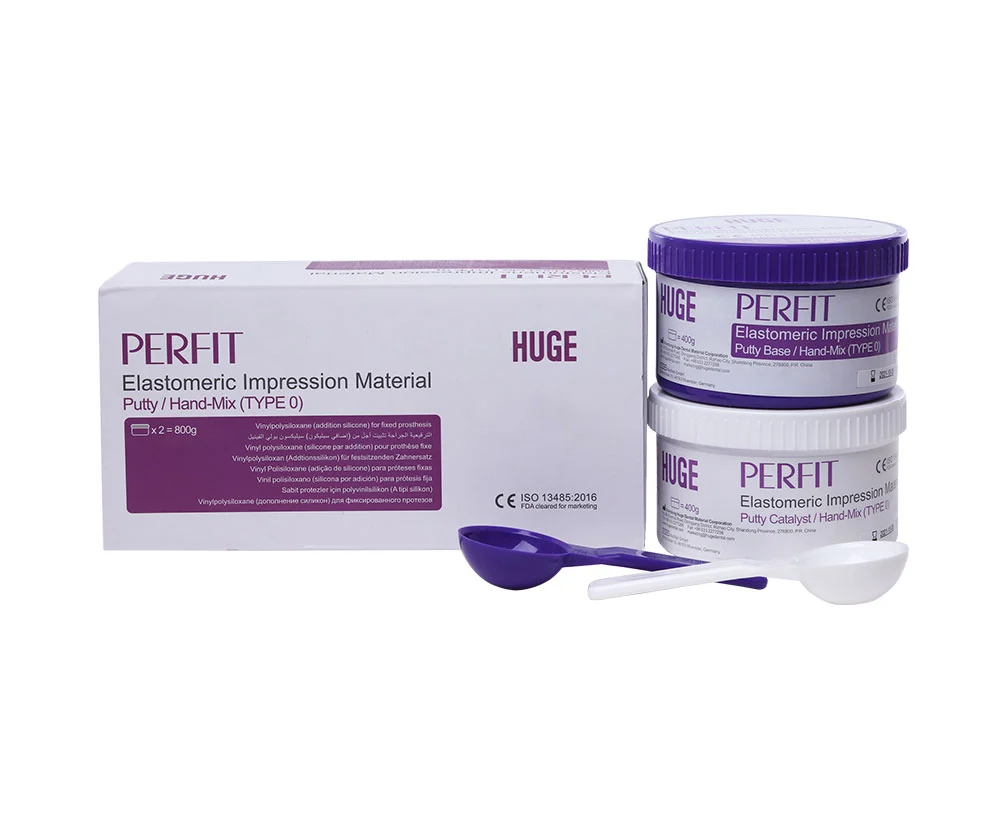
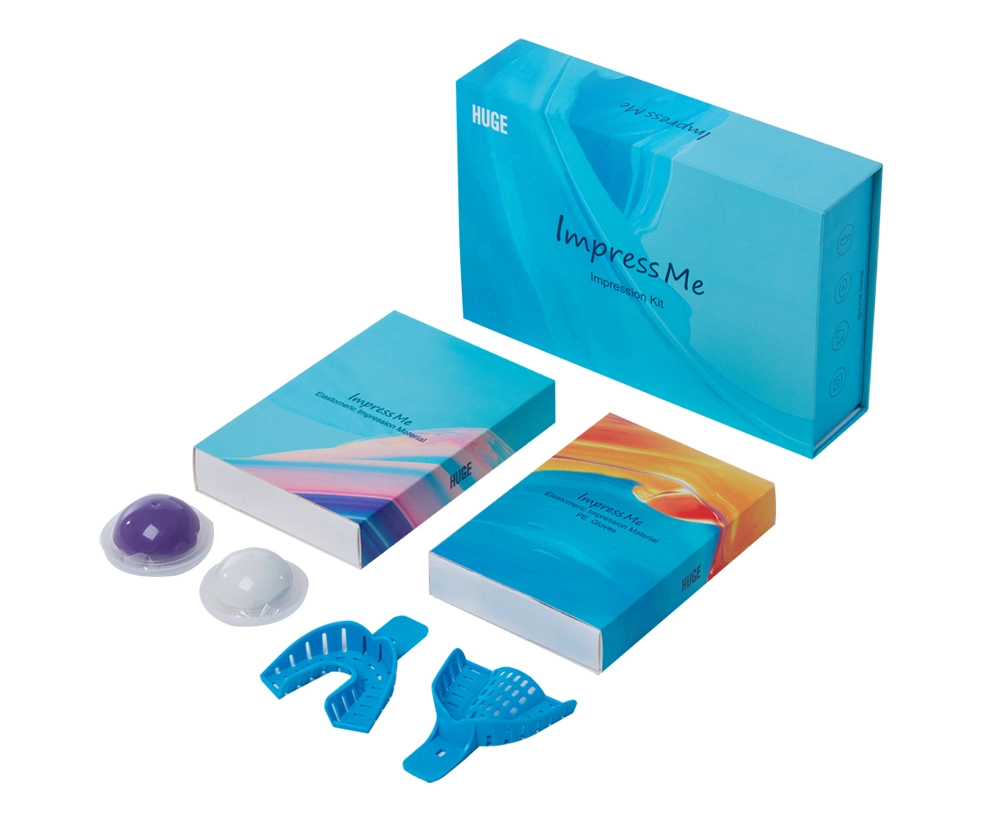
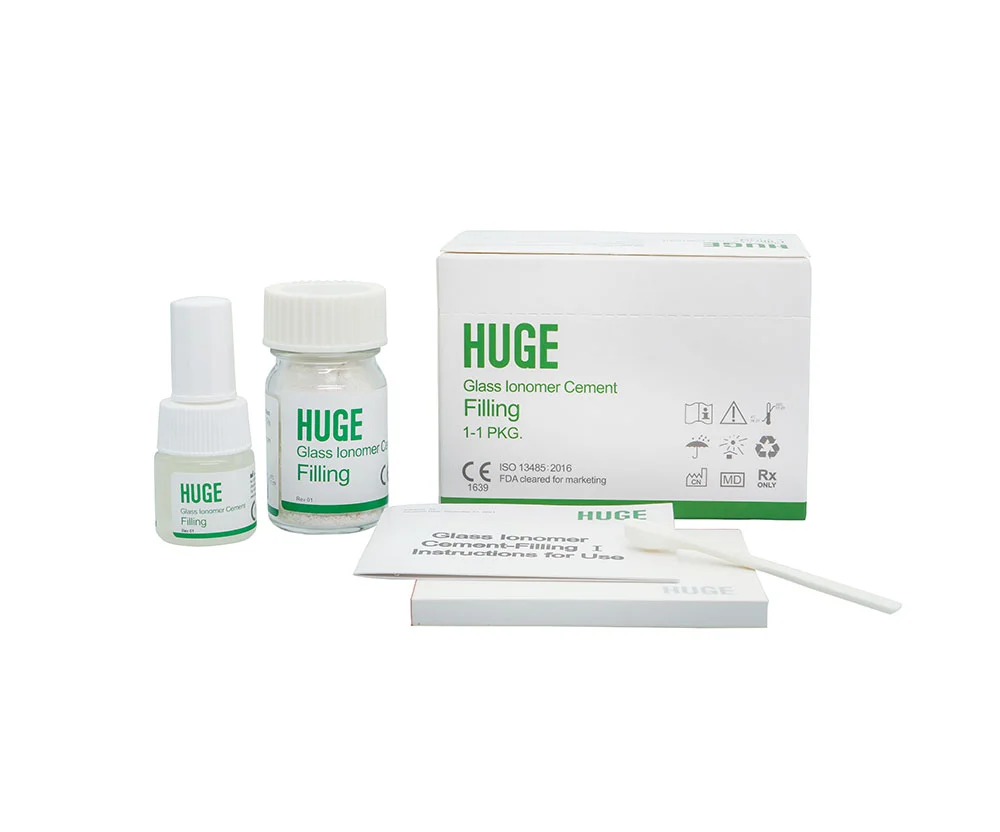
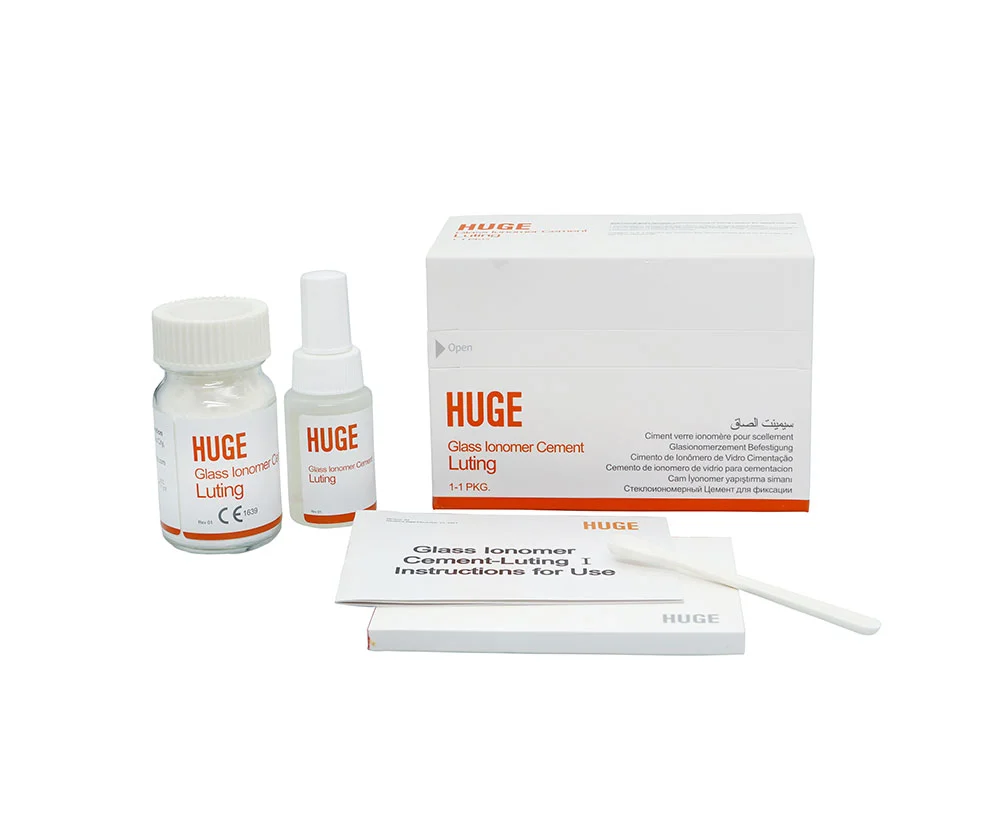
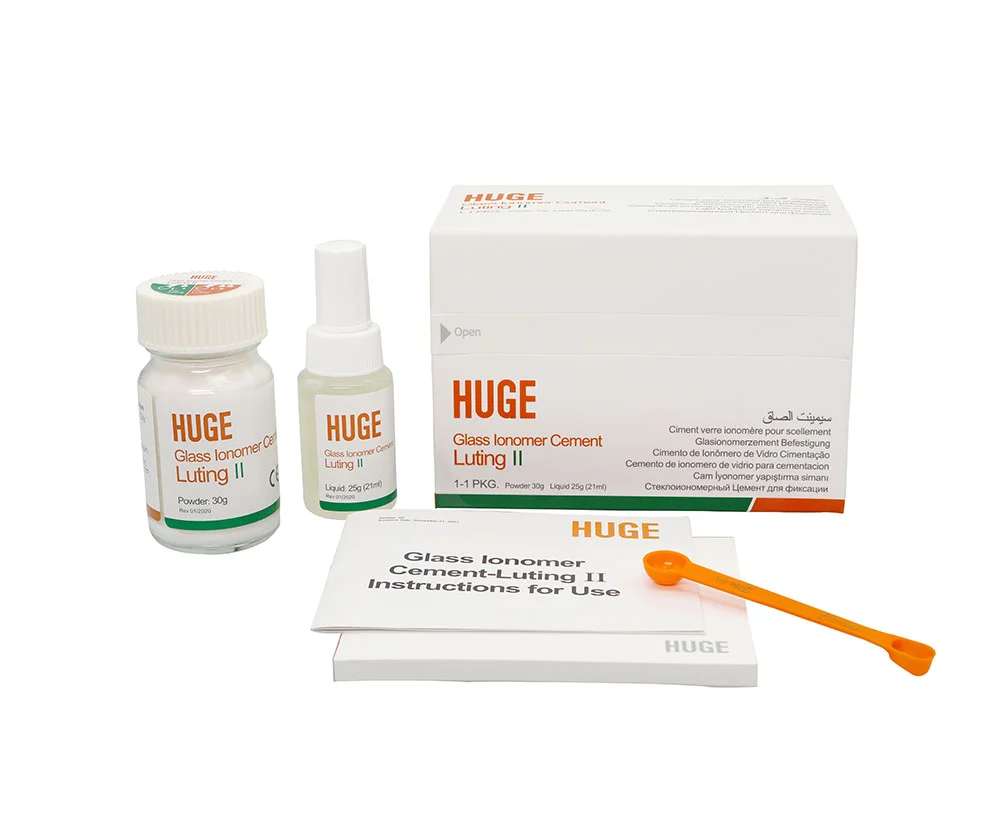
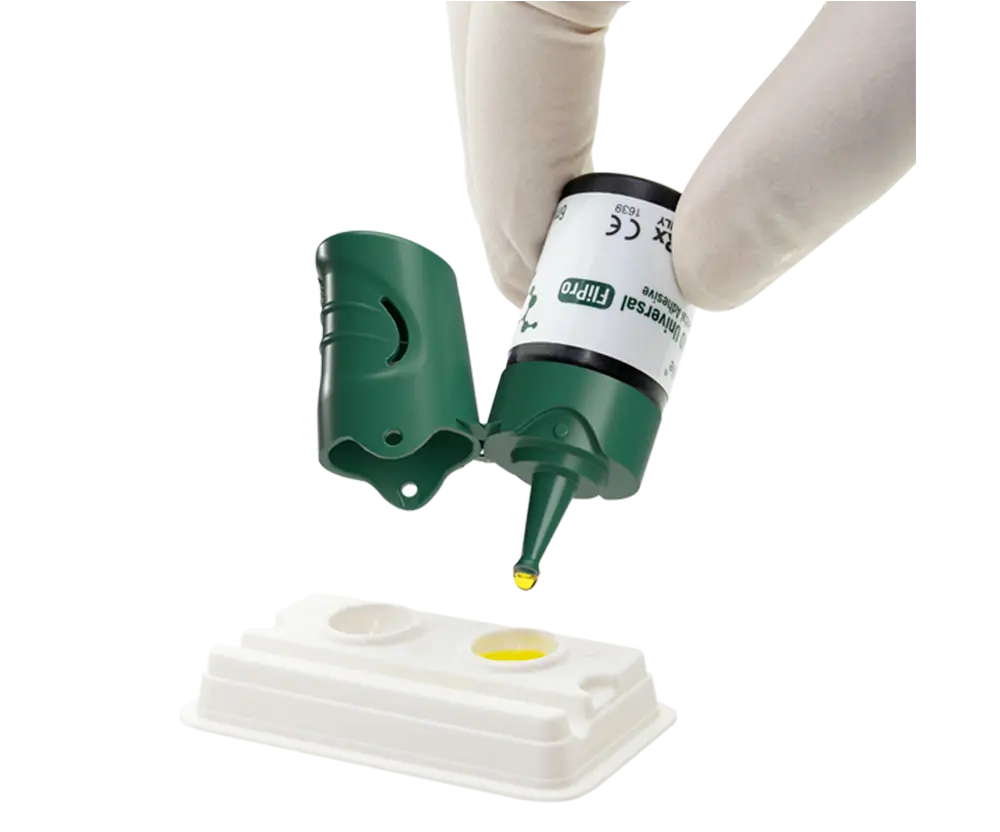
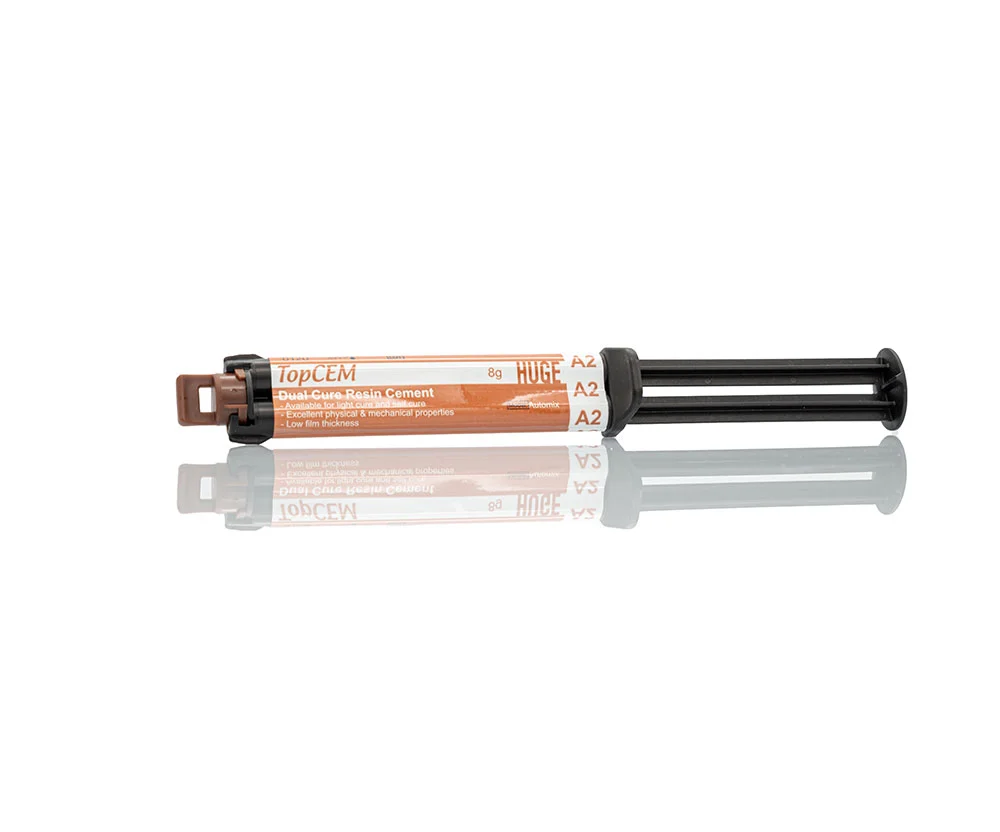
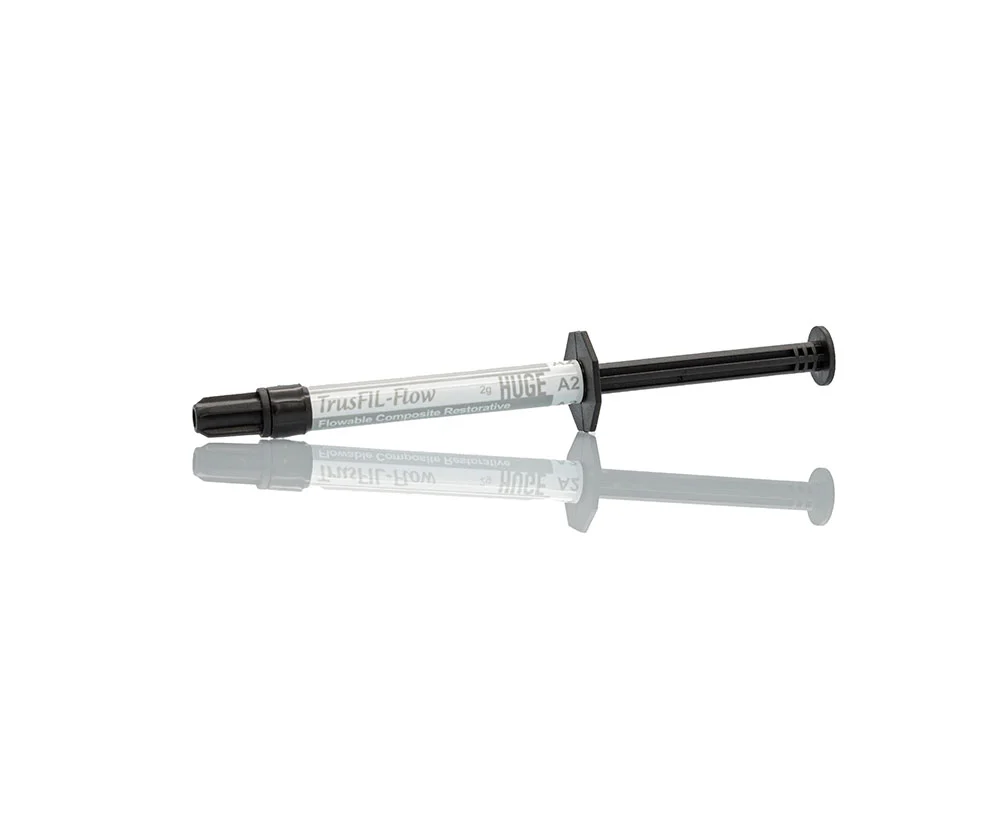
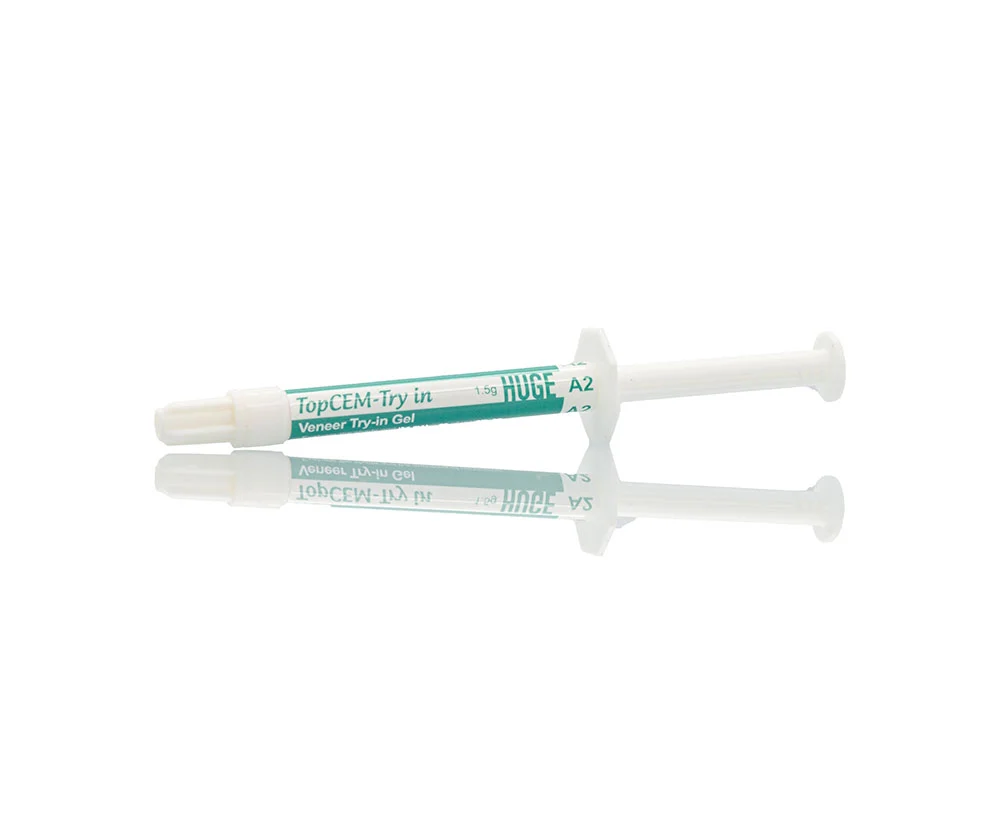
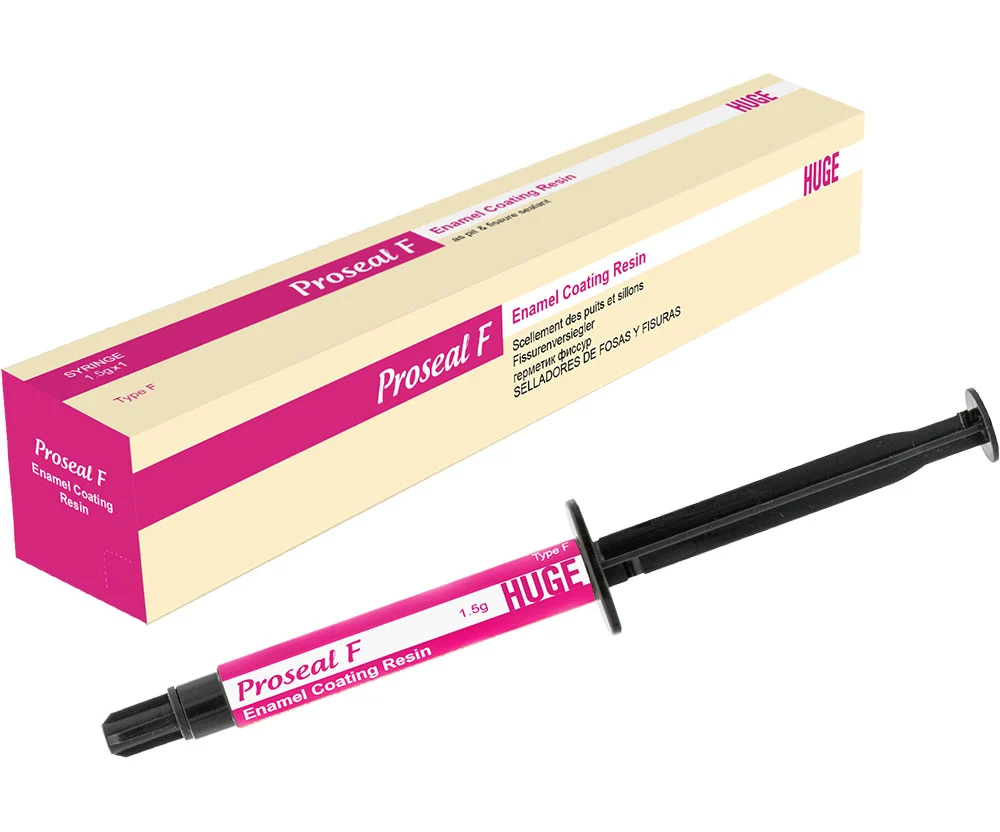
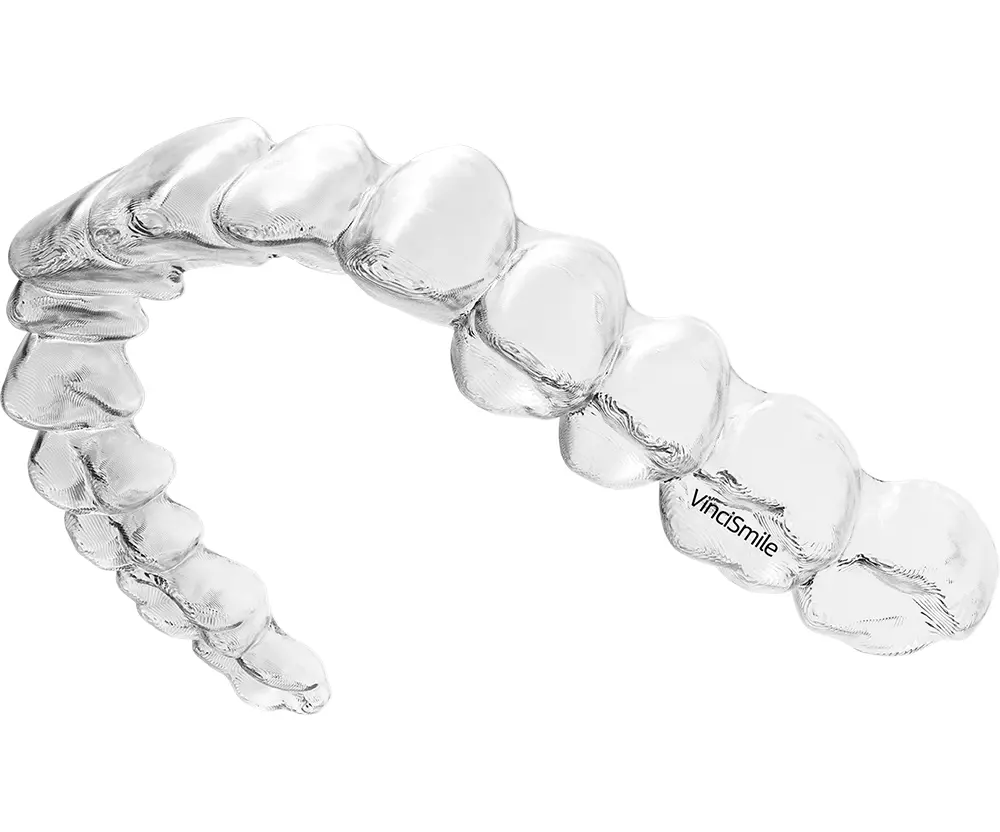
Popular HUGE Dental Materials
